-
Strings in Swift: Going back to BASICs

A few tips ago, we went under the hood with unicode Characters and their relationship to the Swift String type. For most, that’s great theory, but how does it apply to strings, not characters? When I started programming back in the 1980’s, I had three string functions in BASIC: RIGHT$, LEFT$, and MID$. Let’s create…
-
Launch an Alert from a Closure Safely

Your app can get into problems when you launch UI from others threads, such as closures. For example, you might have an app that going to ask for permissions for things like photos, notifications, or location data. The system usually handles those, but you might want to be even more exclusive on what to use,…
-
Change UIColors to RGB and HSB colors
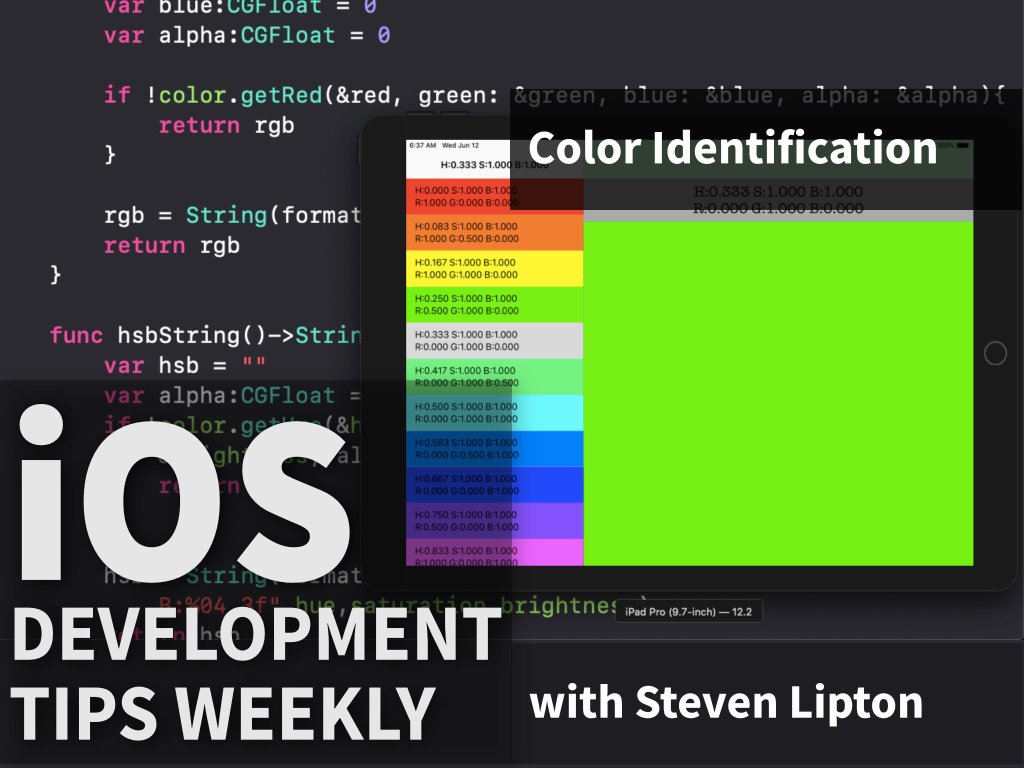
One dilemma you’ll find when working with colors is switching between color systems. There’s two you’ll most often be using: the Red-Green-Blue or RGB and Hue-Saturation-Brightness or HSB. Download the Exercise file and run. It will give you the HSB value, but what if you want a RGB Value for that color? What if you…
-
Use Dynamic Type

For reading ease and visual accessibility you should be using dynamic fonts whenever possible. Let’s look at an example you can get from the download files. I’ve run the Split View Controller from a previous tip in landscape on an iPad Pro 9.7 inch. Take a look at the labels on the table. They are…
-
Programmatically Add Split View Controllers

An often ignored but rather powerful View Controller is the UISplitViewController. You can make one from a template and the storyboard, but I often skip both and do it programmatically, which is especially good when I’m prototyping in a playground. Let’s give it a try using the exercise files I’ve been using for the past…
-
Refactoring

One of the core elements of clean code is having code that is consistent with identifiers. Head to the AppDelegate. Take a look at this code from the tip from last week. I have a few problems with it. I’m not being very consistent in some of those identifiers such as the HueColorTVC and ColorTableViewController.…
-
Understand ARC

One of those difficult things for even experienced developers to understand is Automatic Reference Counting, or ARC. It is how Swift manages and conserves memory automatically. Take a look at the Exercise file. I have a playground in this project with two classes. One is a pizza topping. One is a Pizza. Look at the…
-
Understand Closures

You’ll find closures throughout the API’s, but you may not know how to use them properly. Let’s take a basic tour of closures. Download the exercise file, and you’ll find a project with a playground. In the playground you’ll find a function to compute a pizza volume. That’s for a round pan pizza, for a…
-
Ducking Sound in AVAudioSession

Ducking has nothing to do with waterfowl. Sometimes you’ll want to add sound to your app, but the user will be using the music or others app along with your app. For that, you’ll want to slightly lower the volume of the background music so you can put your sounds in the foreground. That;’s ducking,…
-
Actions in Table Views

Sometimes table views could use a few buttons. There’s two delegates which create swipe buttons on table view cells. Let’s learn how you can implement these buttons and an interesting hidden feature you can do with them. There is two delegate methods, one for the leading swipe configuration and one for the trailing Swipe configuration.…
Make App Pie
Training for iOS Developers and Artists

